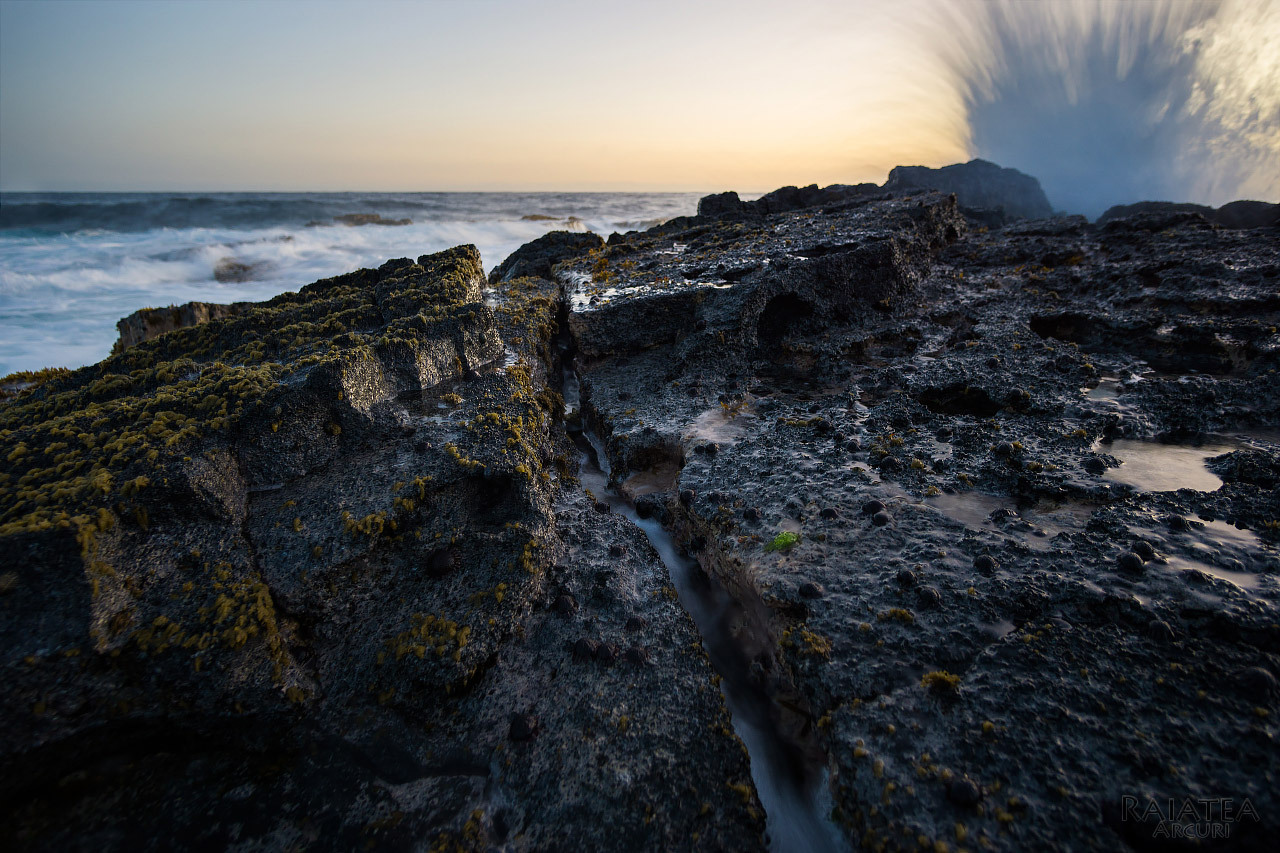
I was looking through the photos that I shot recently and found that I liked two photos of the same scene. The first photo was nicely exposed and had water running through the crack of a rock. The second photo was exposed for the sky and had a wave crashing into the side of the rock. I used a simple technique to combine the two images to include the elements from both photos.
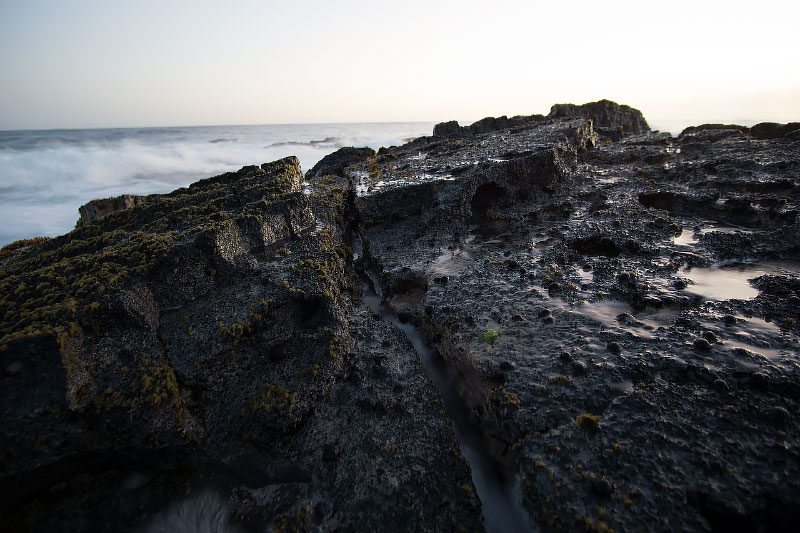
The unedited photo exposed for the foreground. I will use this for water running through the crack of the rock.
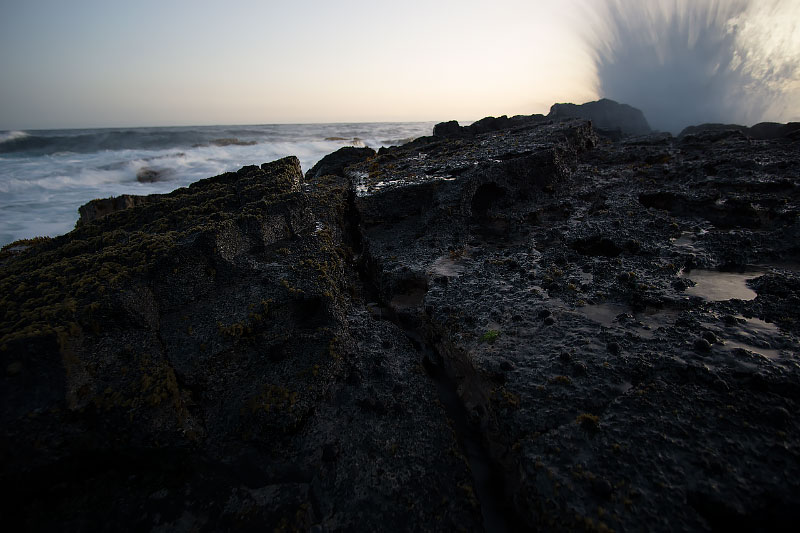
The unedited photo exposed for the sky. I will use this photo for the sky and the wave. The photo will be composited using a layer mask in Photoshop.
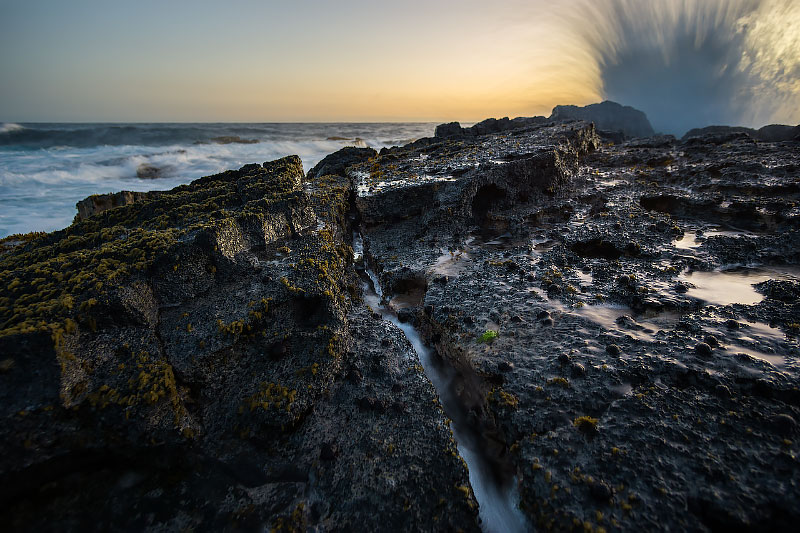
The final image composited with adjustments.
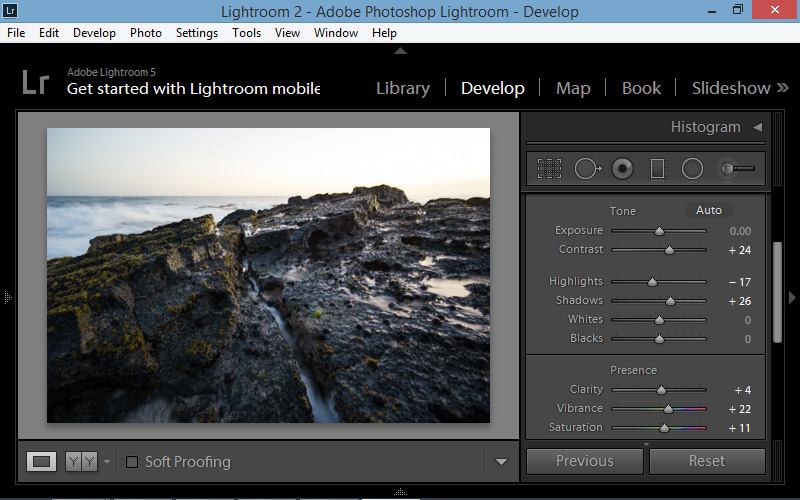
First I made contrast and color adjustments in Lightroom. I used an adjustment brush to brighten the water running through the crack in the rocks.
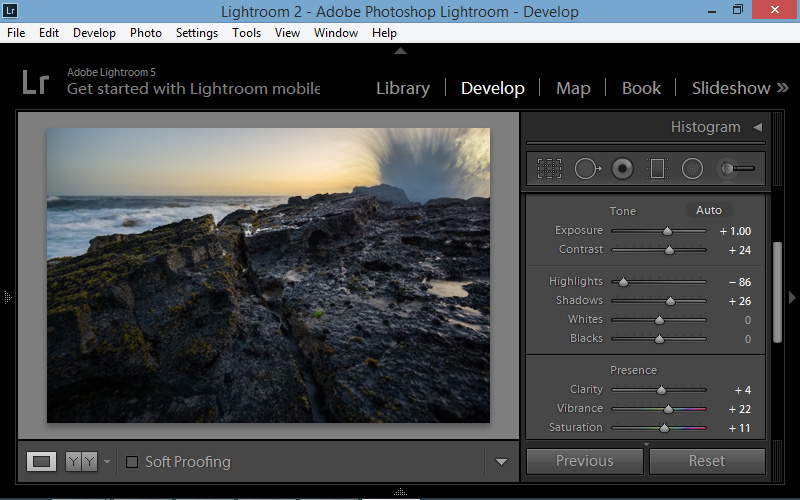
I copied the metadata to the other photo to synchronize the settings. I added a stop of exposure to compensate for the -1EV shutter speed and reduced the highlights to get the detail in the sky back.
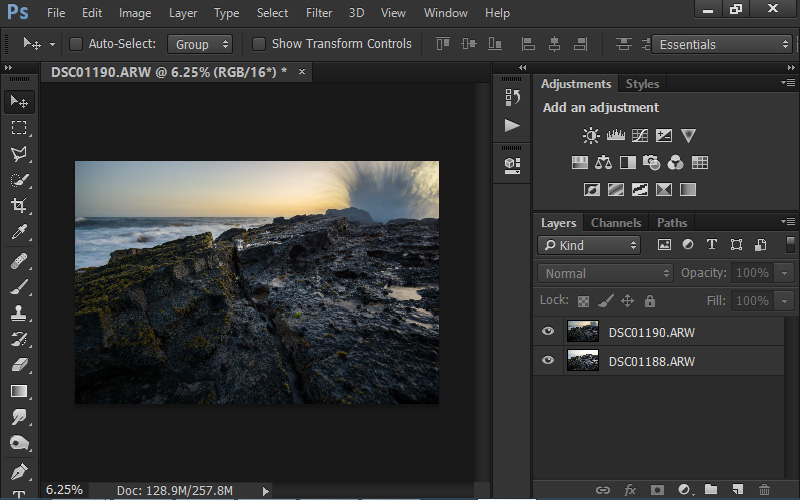
I opened them as layers in Photoshop.
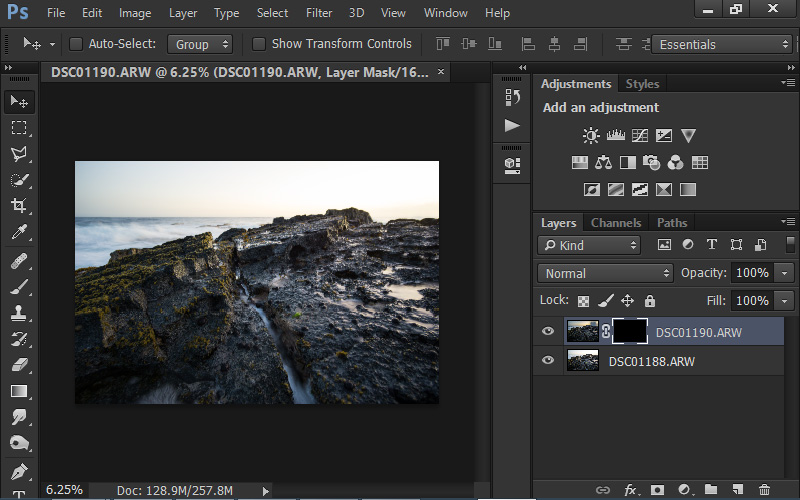
I created a black layer mask on the layer with the wave.
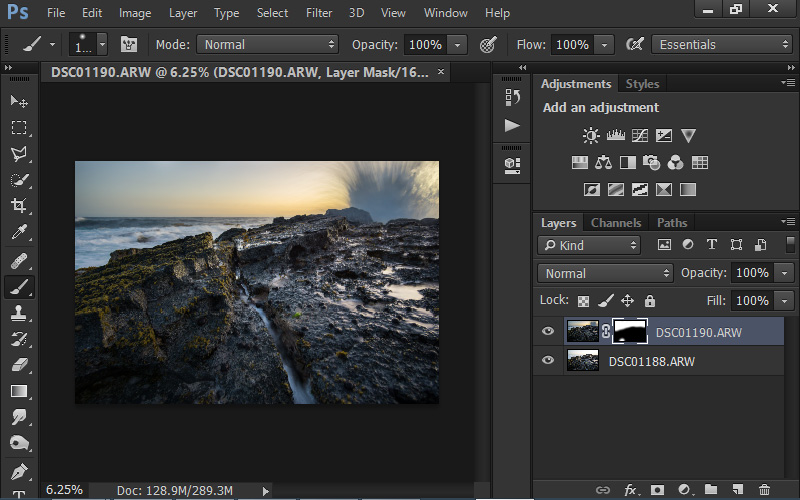
I used a large soft white brush to paint the spots I wanted revealed. I painted in the sky, some of the foreground, the waves in the background, and a distraction that was in the bottom layer.
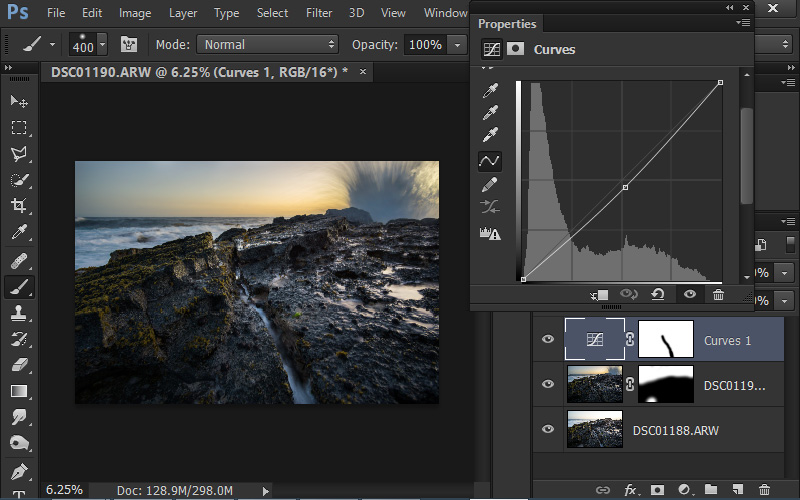
I used a curve adjustment to lower the brightness of the image. I painted the water in the crack of the rock black so that it would not be affected by the curve adjustment.
Check out the full process in this video:
