Introduction
I have always wanted to create a timelapse of a long exposure. It would be fascinating to see clouds turn into a blur as they move across the sky during a long exposure. I found out a way to fake a long exposure with still images and knew there had to be a way to do it with timelapses. Then I thought of star trail timelapses and how they were made without saving each frame individually. StarStaX is a program that can create star trail timelapses by stacking and saving the images automatically. Creating the star trail timelapses are just as easy as creating long exposure timelapses. This method is not perfect, but can give you good results.
Choosing the right timelapse
Not all timelapses will work with this technique. The most important thing is to take a timelapse on a steady tripod. This technique relies on combining multiple images into one. Any camera shake may ruin the final output.
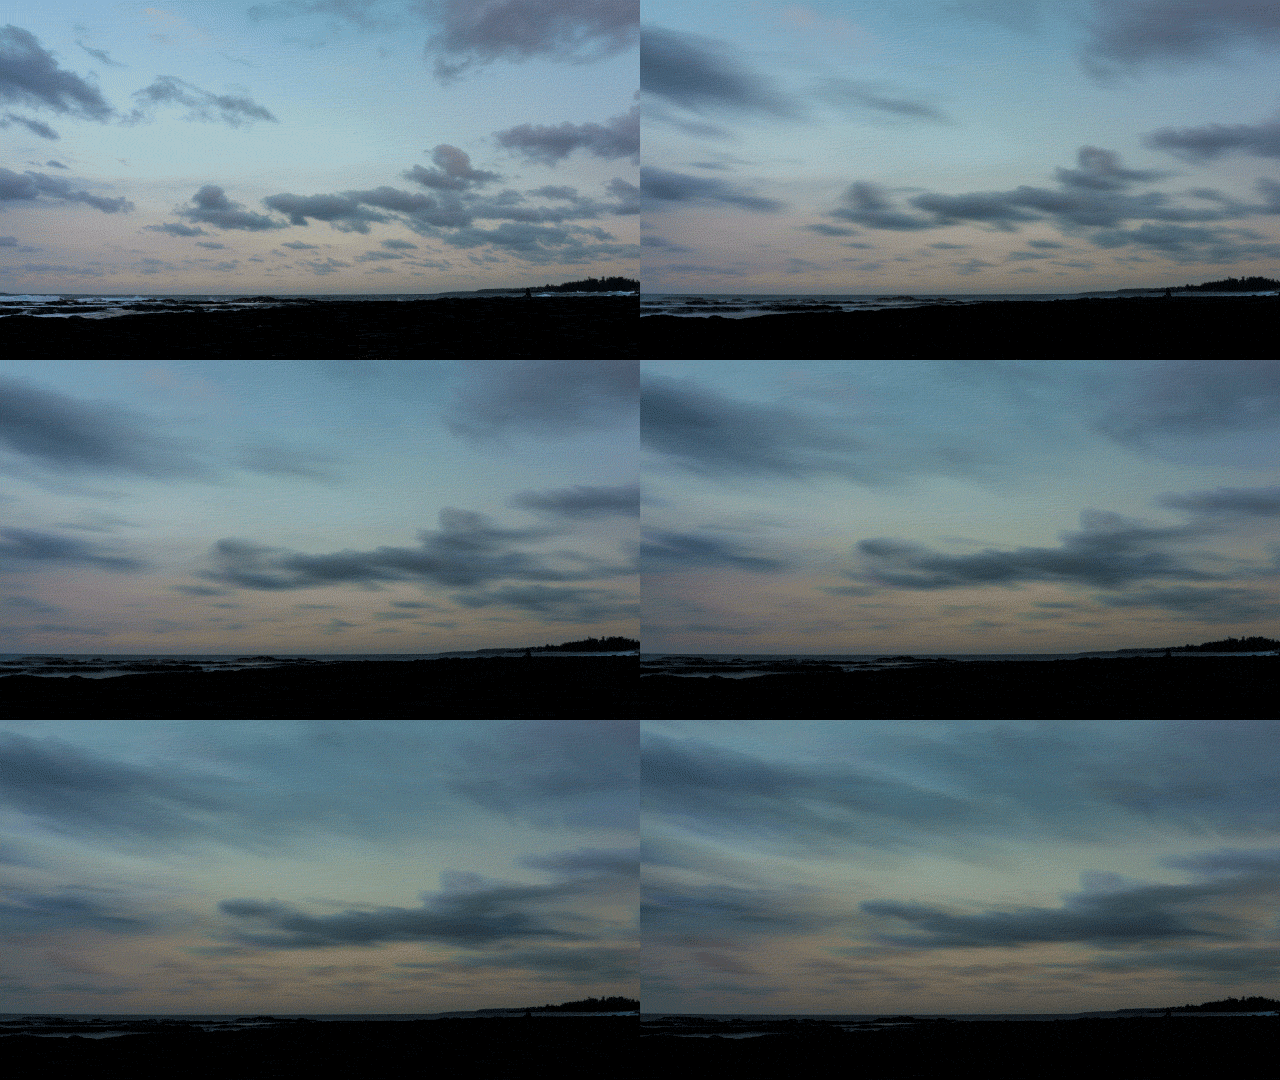
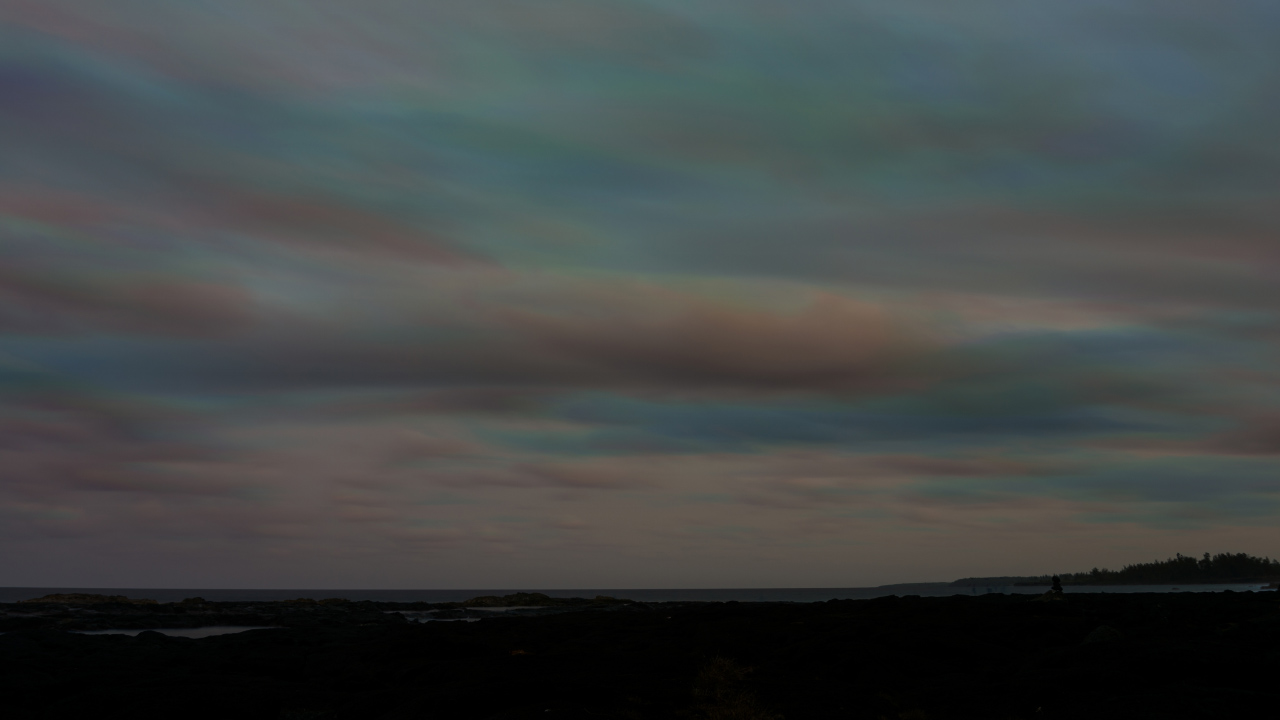
Color shifts during a timelapse generally do not work well. Avoid using sunrise or sunset timelapses unless the duration of the timelapse in very short. As the color of the clouds change, it can create some weird colors.
Weird green and magenta colors appear as a result of the color shift during a sunset timelapse.
Creating the effect
We will be using a free program called StarStaX. If you have never used the program, give it a run and go through the settings. You can change the file output type and the compression settings.
- Open your timelapse sequence by either dragging in your files or by open them within the program
- With StarStaX, change the blending mode in the preferences panel to ‘Average’
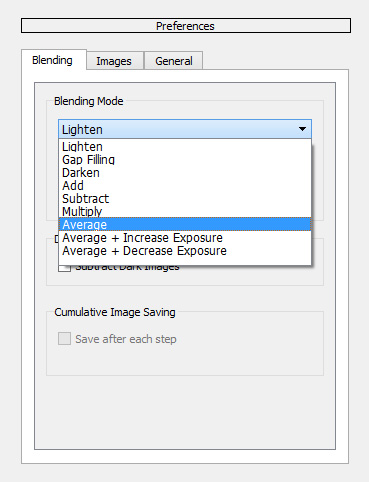
- In the Cumulative Image Saving section, check ‘Save after each step’
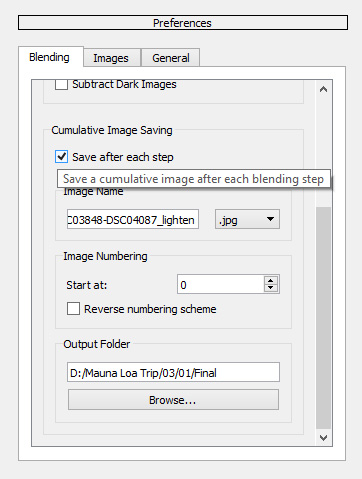
- You will have the option to name the files and choose the output folder
- Hit the ‘Start Processing’ icon on the upper left side which looks like a cylinder
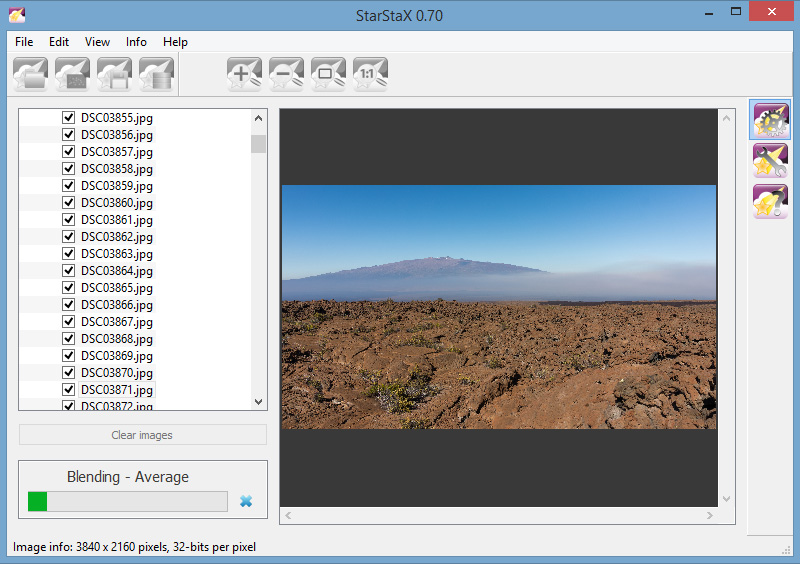
Your image sequence is now ready to be put together with the editing software of your choice.
What this effect does
By changing the blending mode to ‘Average’, it is effectively combining all the images into one. It works by changing the opacity of each additional image.
- The first image will have an opacity of 100 percent
- The second image will have an opacity of 50 percent
- The opacity of each additional image is divided by the number of images combined
- Ex: the opacity of the 15th image is divided by 15 > 1 / 15 = 6.66% opacity
By stacking the layers and averaging the opacities, it is also a good noise reduction tool. High ISO shots can become noise free after a few images are processed.
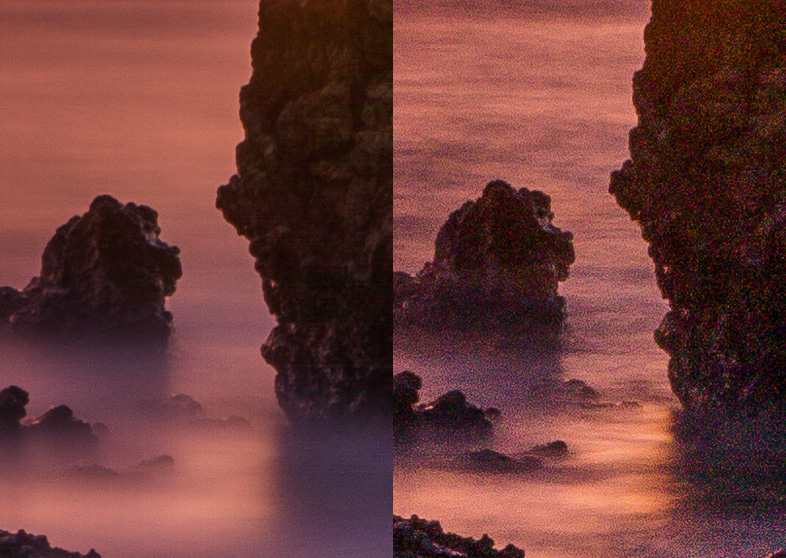
Motion becomes smoothed out.
- Rough water can look calm just like a long exposure
- Clouds become smooth and blurred like a long exposure
- Moving objects such as trees and cars do not work well with this technique
[fusion_builder_container hundred_percent=”yes” overflow=”visible”][fusion_builder_row][fusion_builder_column type=”1_1″ background_position=”left top” background_color=”” border_size=”” border_color=”” border_style=”solid” spacing=”yes” background_image=”” background_repeat=”no-repeat” padding=”” margin_top=”0px” margin_bottom=”0px” class=”” id=”” animation_type=”” animation_speed=”0.3″ animation_direction=”left” hide_on_mobile=”no” center_content=”no” min_height=”none”][twentytwenty]
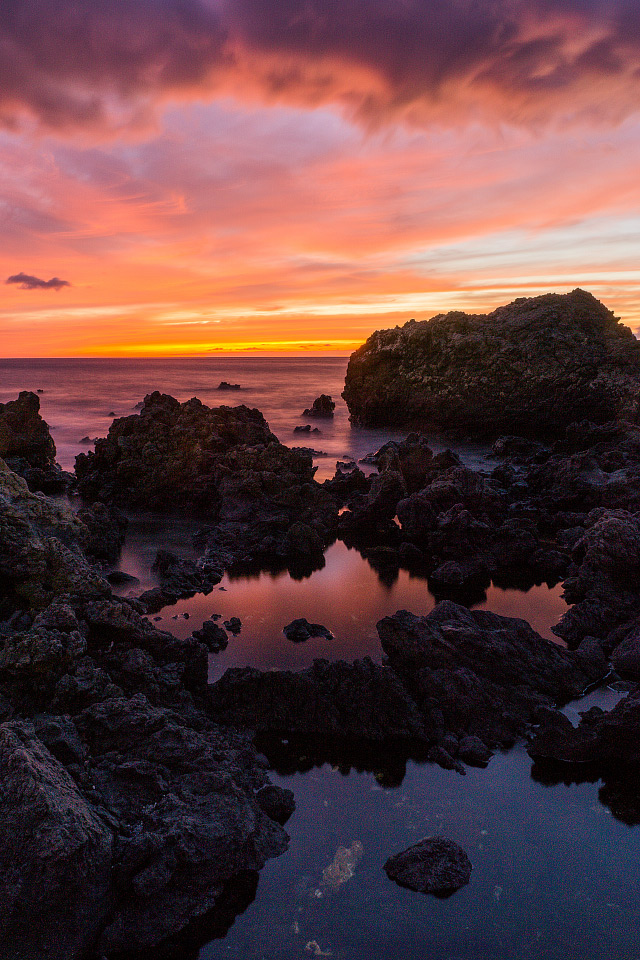
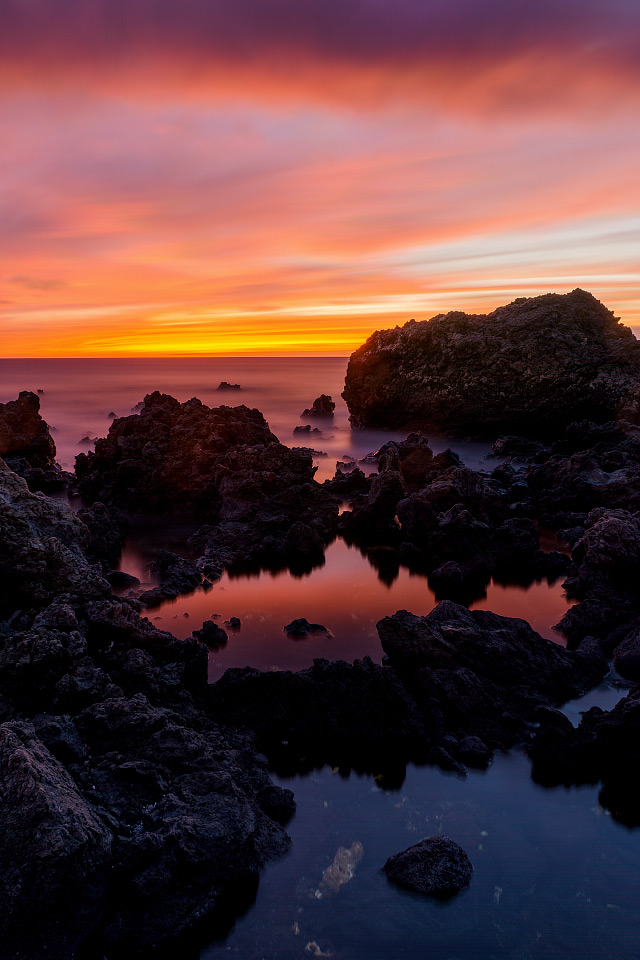
[/twentytwenty]
Conclusion
This is a cool technique to make timelapses appear as if they are long exposures, but will not work with any timelapse. The best way to create a nice long exposure timelapse is to have this technique in mind before you shoot the timelapse. Now that I know this technique, I’m going to shoot a few day timelapses specifically to use for this technique. Keep you duration short and interval high for the best results.
[/fusion_builder_column][/fusion_builder_row][/fusion_builder_container]
Nice work!
Do you have a different link to the video? It says “does not exist” Thanks!
Thanks Kevin! I deleted the video because it’s not up to my quality standards now. It didn’t add much to the tutorial.